Blog
Valuable content and information are becoming increasingly important. Store operators are increasingly slipping into an advisory role. Technical products in particular have associated questions that often require a lot of explanation. This raises the question of how I, as a product expert, can include all the important information in my store and offer my customers the best possible advice. Blogs, guides, magazines or whatever you want to call them. They offer you the opportunity to draw attention to your online store, especially in terms of SEO. In this article, we explain step by step how you can create your own blog.

Prerequisites
To begin with, it is important to understand that each blog is a separate category in Shopware. So if you are not yet familiar with the concept of categories, please familiarize yourself with it first:
The blog also goes hand in hand with the shopping experiences. It is therefore also an advantage to be familiar with the Shopware shopping experiences:
Create blog overview page
In the first step, we need a blog overview page. This summarizes all posts from new to old and also offers you the option of filtering for specific posts using tags later on.
Create category for the blog overview page
It doesn't matter where your blog is located in the category tree. It just needs to be in one of the three entry points "Main navigation", "Footer navigation" or "Footer service navigation" of your sales channel.
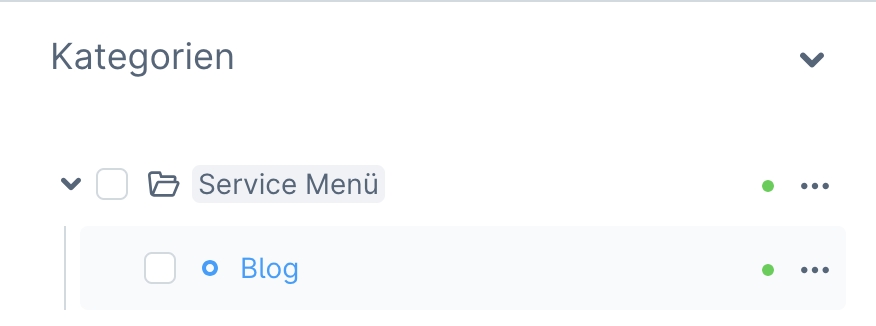
In our example, we create the blog in the service menu because we want to link it there later.

Make sure that the category "Blog" has the category type "Page / List". This is necessary so that the page can be called up later and a layout assignment is possible. The category must also be activated.
Create a shopping experience for the blog overview page
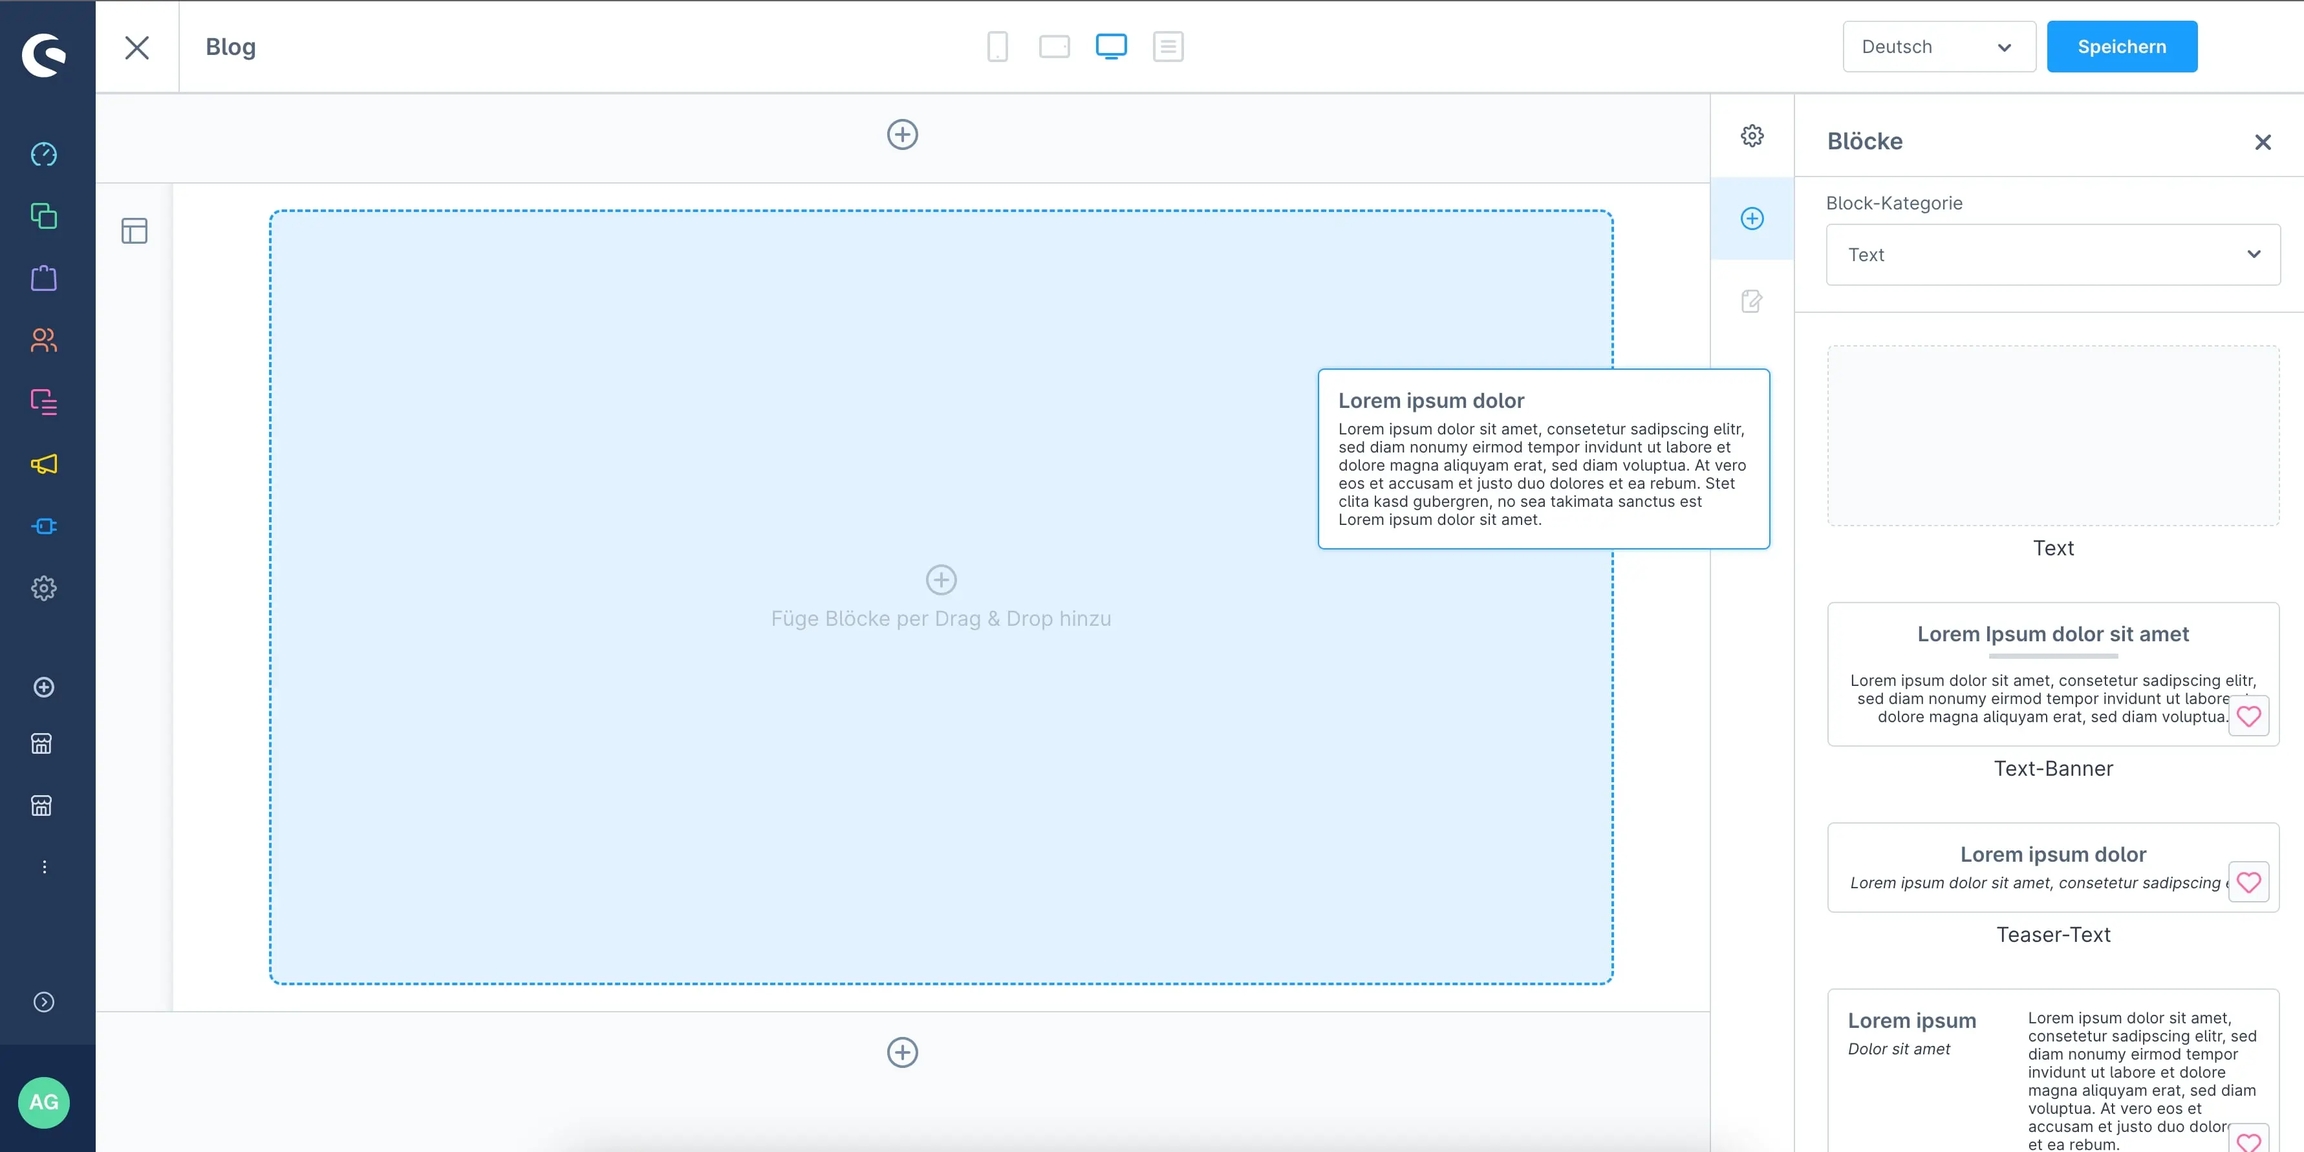
So that the newly created category "Blog" is not just an empty page, we now need a corresponding shopping experience. Therefore, create a new layout. It is important that the shopping experience is of the "store page" type. As soon as the shopping experience has been created, you can drag any block with a full-width element into the shopping experience. For example, the standard "Text" block from Shopware can be used directly for this.

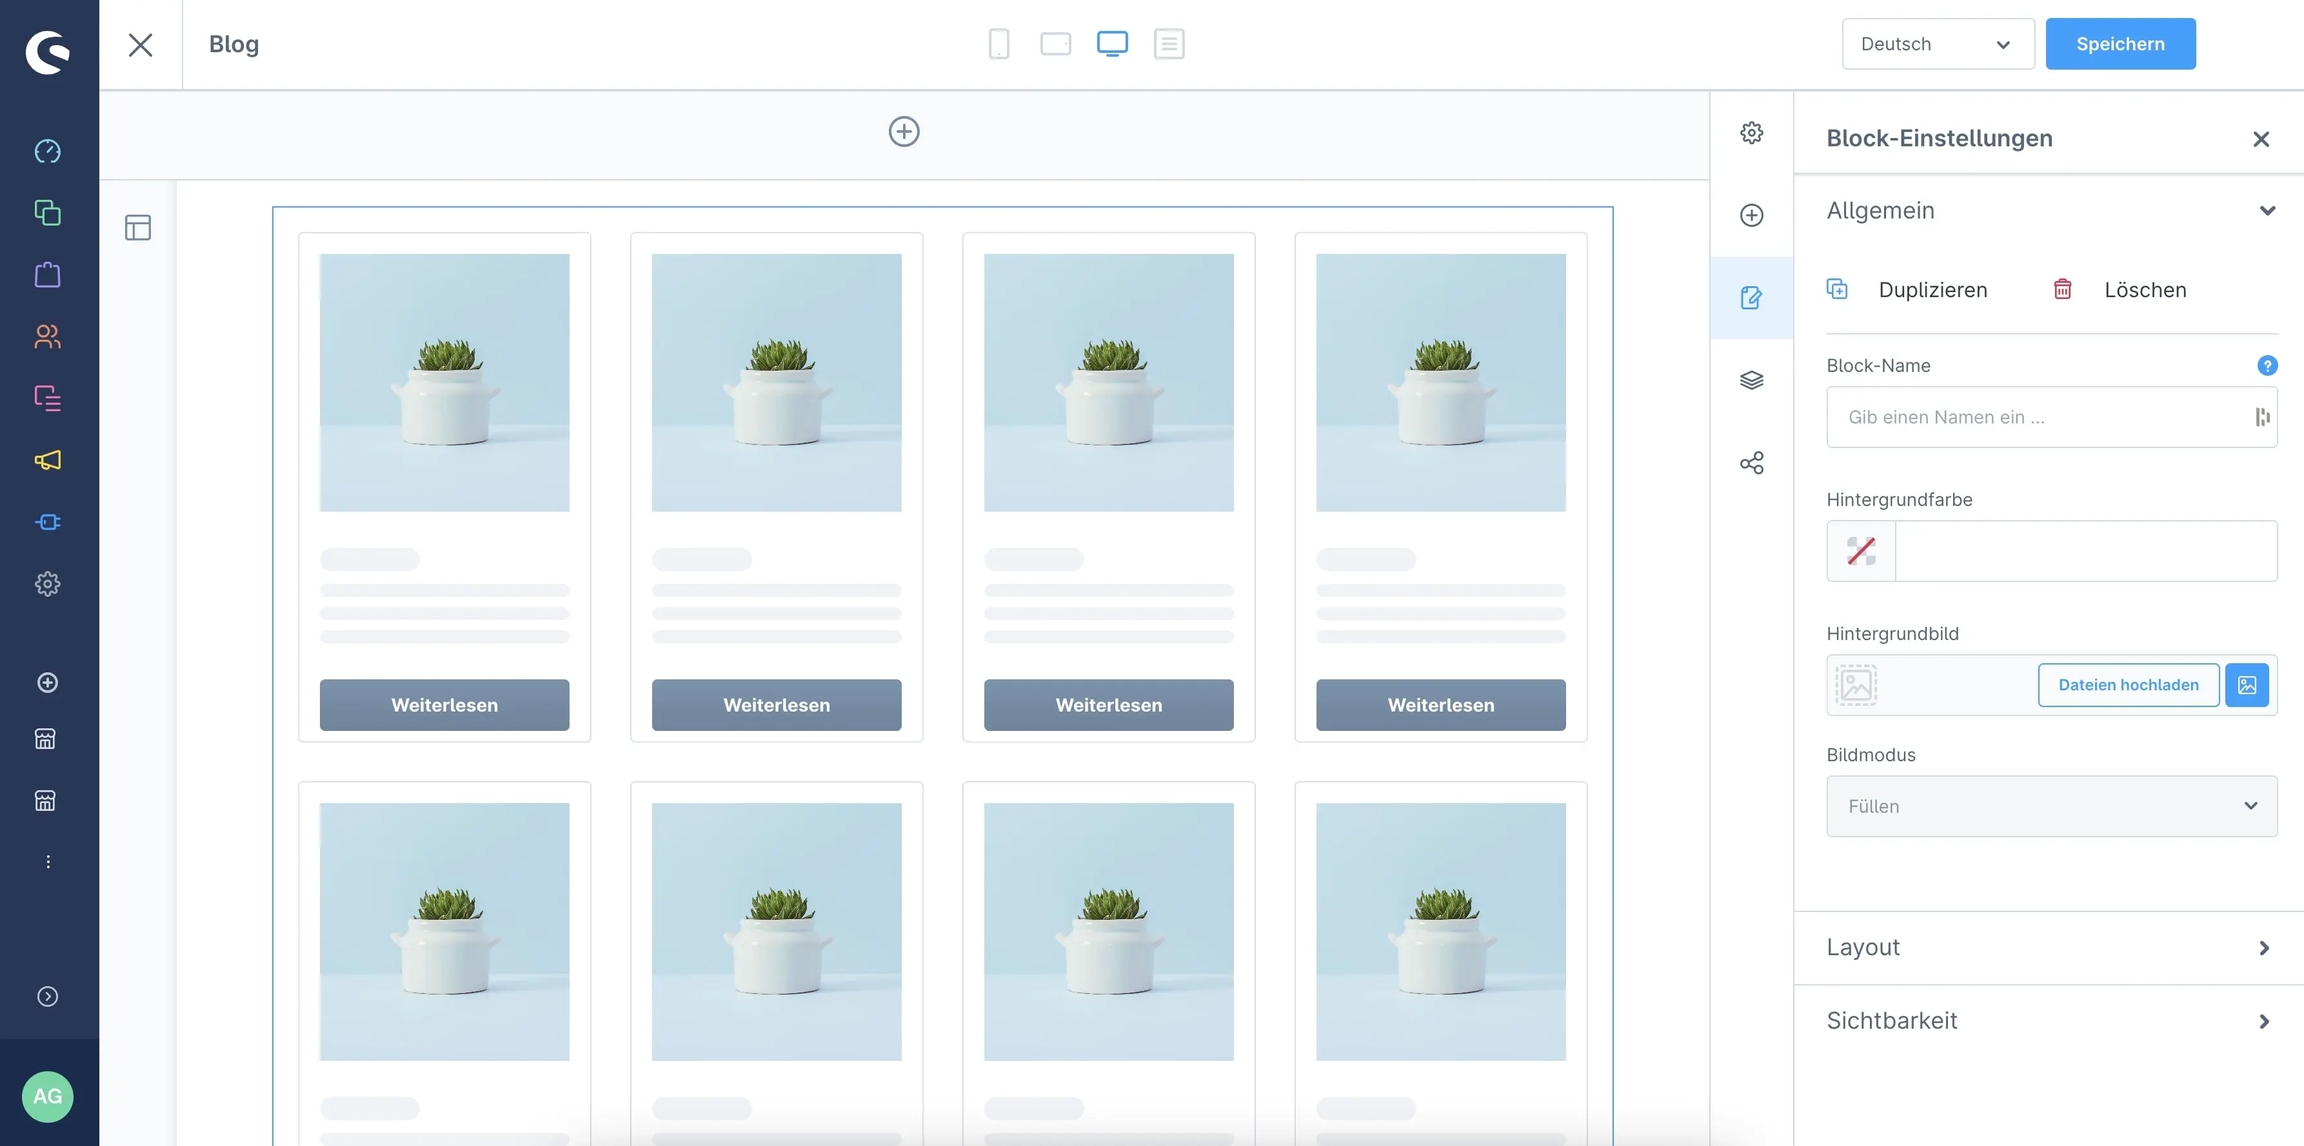
As soon as the block is in the section, you can replace the text element using the two arrows at the top right of the block. A window with all available elements will now open. In this selection, you now have the option of selecting the "Blog listing" element, among others. As soon as you select the element, the window closes and the element has been successfully replaced.

Save the shopping experience and return to the "Blog" category you just created. In the "Layout" tab, we now link the shopping experience we have just created. If necessary, you can also make the assignment directly via the shopping experience.
Create blog post
Now that we have created a blog overview page, we need a corresponding post.
Create category for the blog post
It is essential that blog posts are always created under the "Blog" category. Otherwise they will not be included in the blog listing.
The whole thing then looks something like this:

It may now help to no longer see the "First post" category you have just created as a category in the regular Shopware context, but rather as a "Blog page". The following table illustrates the individual configuration options:
Name
The title of the blog post. This is displayed in the blog listing and also integrated as a heading in the post itself.
Active
Activates or deactivates the blog post.
Hide in the navigation
If the blog post is active, this option can be activated to hide the post in the blog listing. This is particularly useful if you have written the post but do not want to publish it yet, as it can still be accessed under the SEO URL.
Display image
This image is used as a thumbnail in the blog listing and in the blog post.
Description
It serves as an excerpt of the blog post in the blog listing. It also acts as an introductory text between the headline and thumbnail for your post.
Meta title
The meta title of the blog post.
Meta Description
The meta description of the blog post.
SEO path
The SEO URL of the blog post.
In addition to the regular configuration options of a category, the app expands the setting options in the "General" tab under the "Custom fields" card with the "Blog" section. The author, tag, reading time and publication date of the blog post can now also be maintained here. The reading time must be entered in minutes as a number in the corresponding field. You can find out how to create an author and what tags are all about in the following sections.
Note that you either maintain the publication date in each category or do not maintain it at all. If you mix categories, certain posts may no longer be sorted correctly in the blog listing or the element that displays the three most recent posts.
Authors module
Under "Content > Blog > Author" you have the option of creating authors for your blog posts. The author of an article is displayed in the blog listing and in the blog post.
You can create a new author using the "Create author" button in the top right-hand corner. In the following screen, you can enter "Display name", "First name", "Surname" and "Description". You can create as many authors as you like. The language button in the top right-hand corner allows you to translate the short description of an author into other store languages.
As soon as you have created an author, you can link it in the corresponding category in the "General" tab under the "Custom fields" card in the "Blog" section.
Tag Module
Blog tags serve as a filter function for your posts on the blog overview page. All tags linked to a post are displayed. Click on a tag to filter the corresponding posts.
Do not confuse the app's blog tags with Shopware's conventional tags. The latter are only intended for filtering within the administration.
Under "Content > Blog > Tag" you can create any number of tags for your blog posts using the "Create tag" button. All you have to do is maintain the "Name" field. Tags can also be translated into all your store languages.
Once created, you can link the tags in the corresponding category of your post in the "General" tab under the "Custom fields" card in the "Blog" section. You can link as many tags as you like.
Create a shopping experience for the blog post
Now that we have maintained all the relevant data in the category of the blog post, it is time to create the corresponding shopping experience with the actual content of the post. Therefore, we now also need a shopping experience here. This shopping experience should also be of the "store page" type. Whether you start with a shopping experience with a sidebar section or a full-width section is up to you.
If you prefer a scrolling table of contents for your post, we recommend using a section with a sidebar. We explain how you can set such a table of contents in the blog post in the section below.
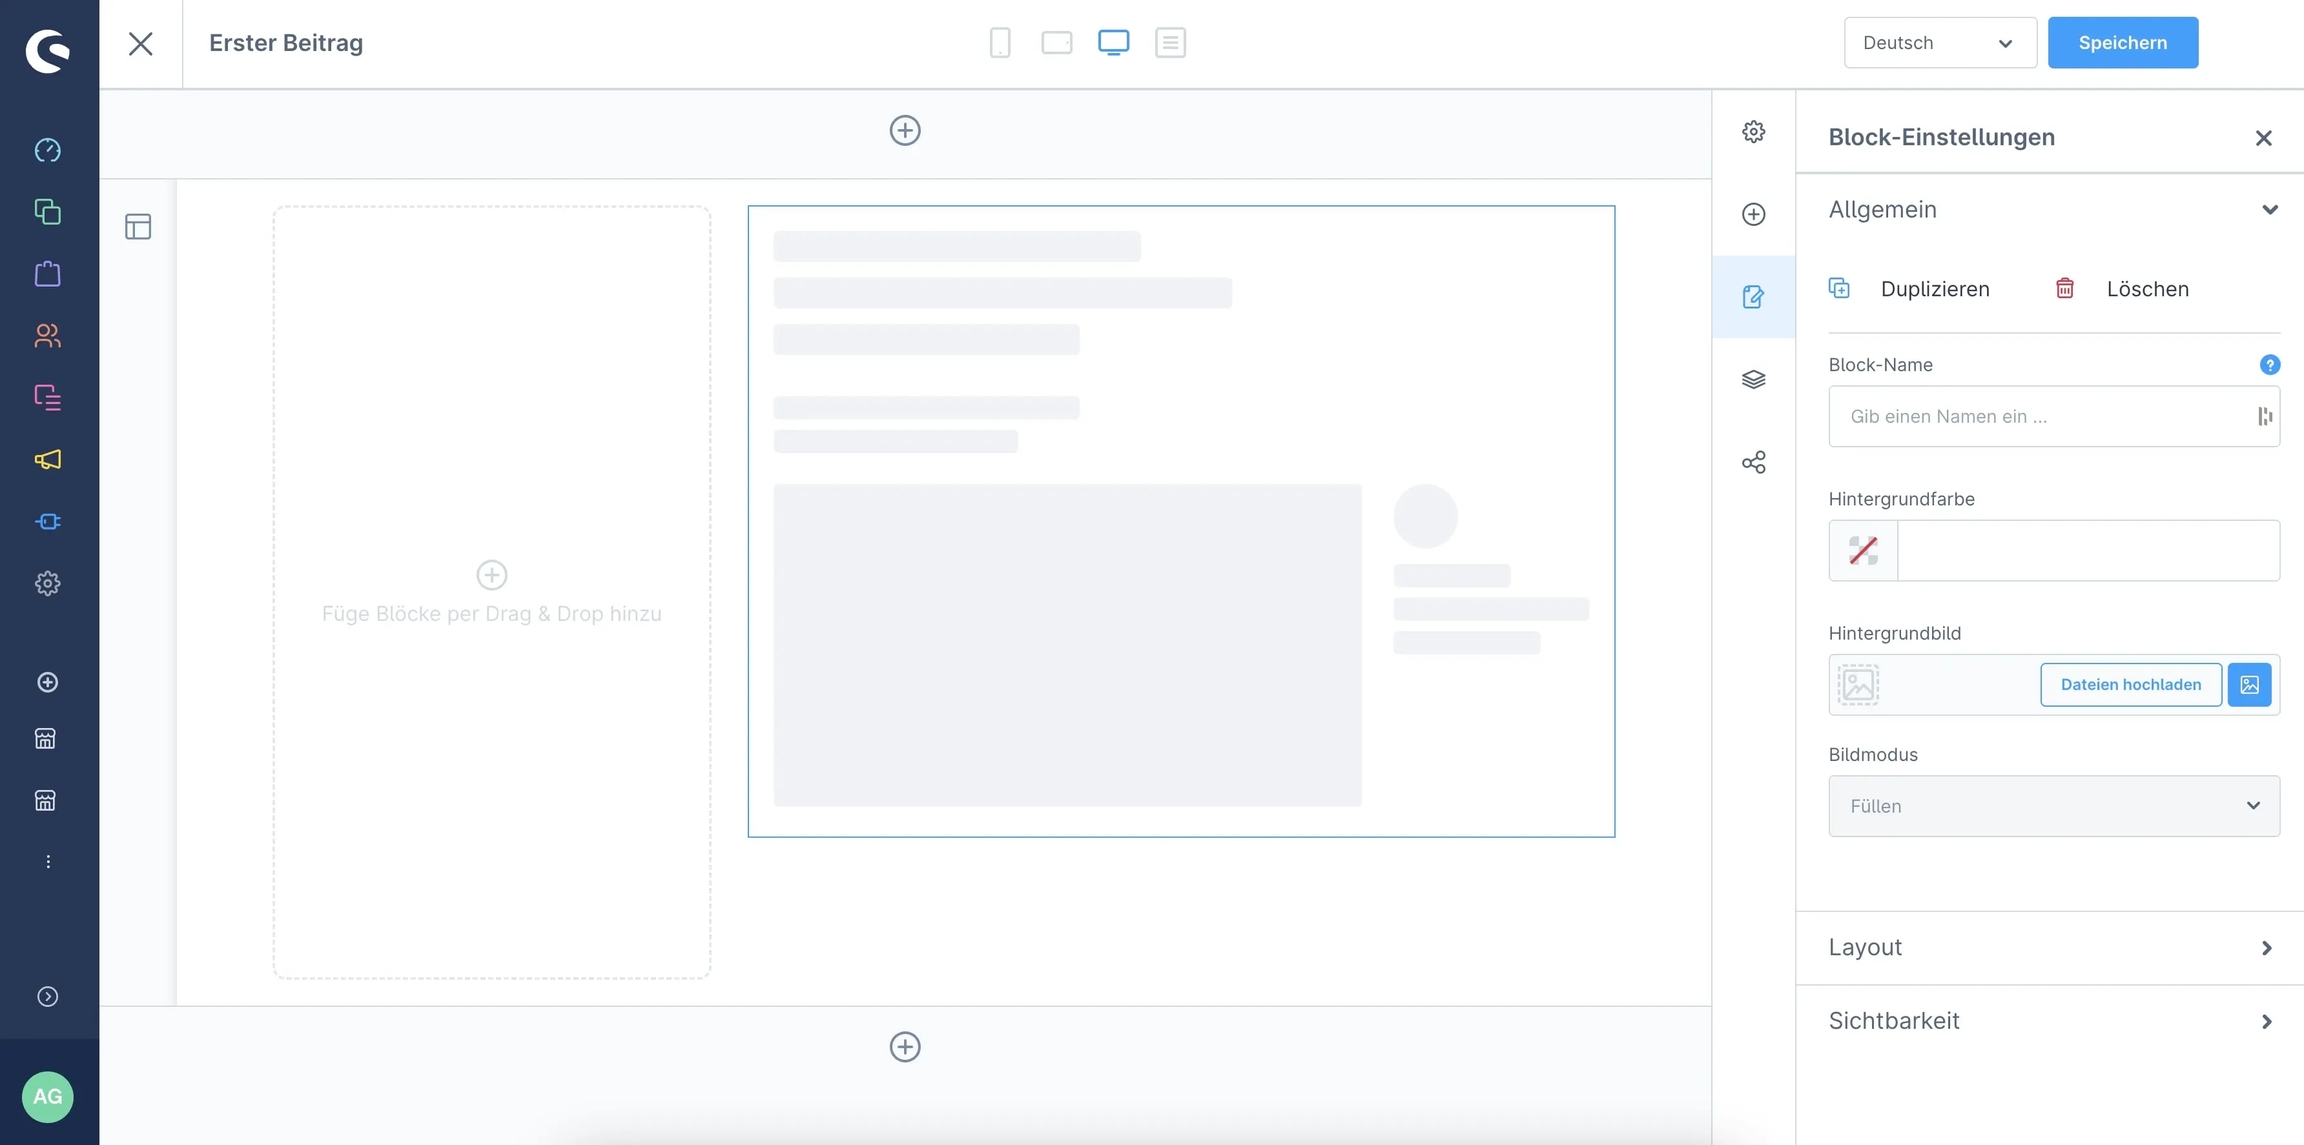
In this example, we are using a section with a sidebar. Here too, we recommend starting with a full-width element. So, as in the shopping experience for the blog overview page, we drag the standard Shopware text block into the section. We then swap the text element for the "Blog header" element using the two arrows.

This element is the basis of your blog post. On the one hand, it narrows and centers the post to a width that is much easier to read for blog posts. On the other hand, it contains all the important, linked information from the associated category. This includes the headline, author information, creation or update date, tags, reading time, introductory text, thumbnail and a "share" function.
Now you can let off steam in the post however you like. Create texts, link images, link products and integrate videos. The full power of the shopping experiences is at your disposal!
Table of contents in the blog post
A table of contents is often particularly useful for longer posts. This allows the visitor to quickly jump to the desired section of the article without having to scroll a lot.
The table of contents is just a small text block on the left-hand side of the sidebar section. Therefore, simply drag a full-width text element to the corresponding position. All you need to configure your table of contents is a little HTML knowledge:
Each individual jump label comprises a separate <li></li> element with a contained <a></a> element. Simply copy the code above and paste it into your text element.
However, don't forget to change the editing mode via the Shopware text editor on the top right-hand side.
You can then adjust the "First subheading" and "Second subheading". Within the href attribute, you can enter the ID of the post heading. Please note that you should avoid special characters.
In the post itself, you still need the corresponding ID at the position of the text. This can look something like this:
After you have saved the shopping experience, a corresponding styling will be applied to your table of contents. Therefore, make sure you use the exact syntax from the example above. Otherwise, a uniform appearance cannot be guaranteed.
App configuration
You can also configure the app under "Extensions > My extensions > Blog > Three dots > Configure".
Offset of the table of contents
Some themes use a sticky header. In case of doubt, this can lead to the table of contents overlapping. The higher the value at this point, the greater the distance between the table of contents and the top edge of the browser.
Number of blog posts per page
Specify how many blog posts should be displayed in the blog listing per page by default.
Element for displaying the three most recent posts
In addition to the blog listing and blog header element, there is also the "Latest blog posts" element. You can use this to automatically display the three most recent posts of a specific blog on other pages.

Simply switch to the element and open the settings via the cogwheel at the top right of the element. Now you can select the main category of your blog in the configuration, which has also been assigned to the blog listing element in a shopping experience.
Worth knowing
What are the ideal distances between the individual blocks in my contribution?
By default, we recommend removing the spacing of each block or setting it to "0". The "Blog Header" element at the beginning of your post ensures that ideal spacing is applied between the individual elements.
Can I also create a separate guide alongside my blog?
You can create as many blogs as you like and also use the feature for other purposes. For example, it can make sense to semantically separate a blog from a guide or reference posts. Simply create a new overview page with an associated category and shopping experience, as well as the corresponding posts.
Last updated
Was this helpful?

